Put one light slightly above your eye level and about 45 degrees off to one side of the camera, aimed down at your face. Turn the ceiling light off. Set the light's color temperature to match whatever other light is in the room. That is roughly 90% of good stream lighting, and it costs nothing beyond the one light. Brightness and brand are the parts people shop for and the parts that matter least.
Lighting is the single biggest visible difference between a stream that looks amateur and one that looks professional, and it is also the cheapest of the big upgrades. A $300 webcam in bad light looks worse than a $70 webcam in good light, because every camera is fighting the same physics: less light means more sensor gain, and more gain means noise, smearing and washed-out color. Give the camera light and it stops having to guess.
The one rule: 45 degrees, slightly above
Place your key light — the main one — off to one side of the camera at roughly 45 degrees horizontally, and a little above your eye line, angled down toward your face.
That position does three things at once. It puts a soft shadow down one side of your face, which is what gives a face shape and depth on camera; a light directly in front flattens you out. Being above eye level means the shadow under your chin falls downward and out of frame instead of up your face. And being off-axis means the light is not reflecting straight back off your glasses into the lens.
Everything else is refinement. A second, dimmer light on the opposite side — a fill — softens the shadow if you find it too strong. A light behind you aimed at the wall separates you from the background. Neither matters until the key light is right, and plenty of very good-looking streams use one light.
Turn off the ceiling light
An overhead light is directly above you, which puts shadows in your eye sockets and under your nose — the exact look used in films to make someone look sinister. It is also almost always a different color temperature from your key light, which makes skin tone impossible for the camera to resolve.
Turn it off. If the room is then too dark to see your keyboard, add a lamp low and behind the camera rather than switching the ceiling light back on. This single change improves most home streams more than any purchase.
Match your color temperature
Color temperature is the Kelvin number on the side of every light: roughly 2700K is warm household yellow, 5600K is neutral daylight, 7000K and up is cold blue. Cameras cope well with any consistent color temperature and badly with a mixture, because white balance is a single global setting and cannot be two things at once.
So pick one and make everything match. If you stream in daylight, set your key light near 5600K so it agrees with the window. If you stream at night under warm bulbs, set it warm. Bi-color panels exist precisely so you can do this, and it is the main reason to buy one over a fixed-temperature light.
The other number on the box is CRI, the color rendering index. Higher is better and means colors look closer to how they would under natural light; low-CRI lights make skin look slightly wrong in a way people notice without identifying. Treat a quoted CRI as a manufacturer claim rather than a measurement, because the figure is self-reported on most consumer lighting.
Soft light, and how to get it for free
A small, bright light source makes hard-edged shadows. A large, dimmer one makes soft, gradual ones, and soft is almost always what you want on a face. That is the entire reason professional lights are big rectangles with diffusion on the front.
Two ways to get it without spending more. First, move the light closer — a panel at 60 cm is effectively a much larger source than the same panel at three meters, so the same light gets softer just by moving it. Second, bounce it: aim the light at a white wall or ceiling beside you and let the wall become the light source. A bounced cheap panel looks better than a direct expensive one, and it costs nothing.
Two mistakes worth naming
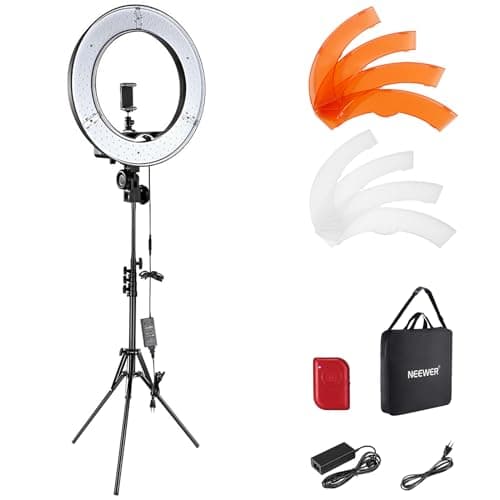
The ring light and glasses. A ring light sits directly in front of you by design, which is why it reflects as a perfect visible circle in each lens. If you wear glasses on camera, an off-axis panel avoids the problem entirely and a ring light does not. There is no setting that fixes this.
Letting the monitor light your face. If your key light is too dim, your monitor becomes the brightest thing pointed at you, and your face changes color every time the game does. It is the most recognizable sign of an unlit stream. The fix is not a brighter monitor, it is a key light that out-competes it.
Then check it with the camera, not your eyes
Your eyes adapt; the camera does not. Open your camera preview, look at the picture rather than the room, and adjust from there. Specifically: are both eyes lit, or is one side in shadow? Is there a bright highlight on your forehead or nose (light too close or too direct)? Does your skin look yellow or blue (temperature mismatch)? Is the background brighter than your face (the camera will expose for the background and leave you dark)?
Fix those four and you are done. The camera itself matters less than this — though it does matter, and our best webcams for streaming page covers it, with how to choose a webcam for the specs that decide it.
What to buy
Having read the above, the shopping list is short and the order matters: one good key light first, mounted where you can position it properly. A second light only once the first is right.
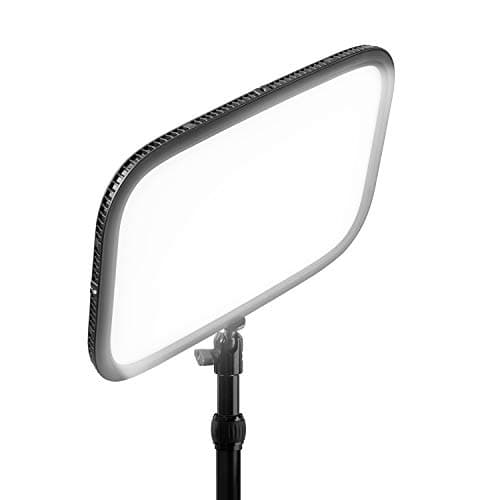
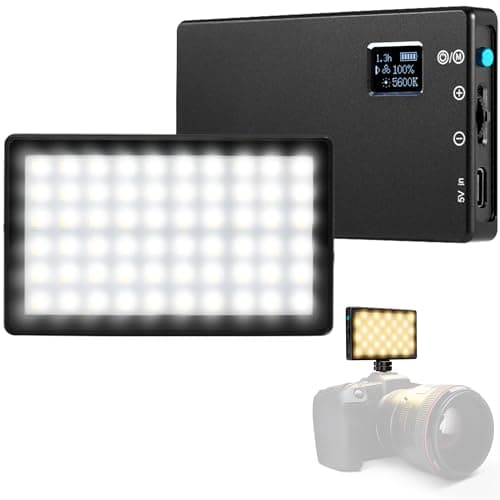
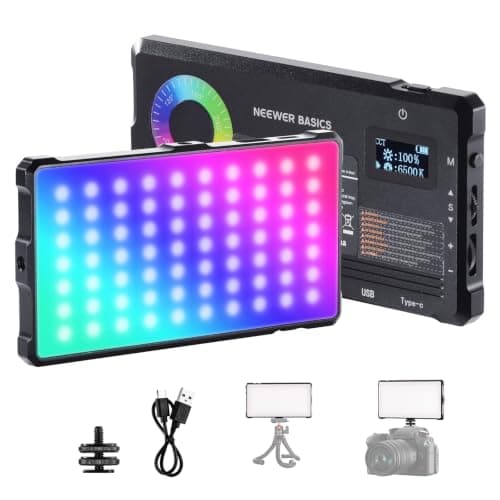
The four below cover the range: a cheap rechargeable bi-color panel that will genuinely change how your camera looks, an app-controlled desk-clamped key light for people tired of adjusting a light by hand, a big ring for soft light if you have the room and do not wear glasses, and a compact, better-built panel for a tight desk. The full comparison is on our best lighting for streaming page, and if you are costing out a whole setup, best streaming setup under $200 puts the light in context with the camera and the microphone.